- Professional Construction Software Solutions
- 480-705-4241

Bluebeam Tip: How to Transfer the .DWG file layer information to PDF
July 10, 2014
Bluebeam Tip: Autosequencing for RFI Text Box Markups
August 14, 2014
Bluebeam provides you with many options for configuring your profiles including the ability to position tabs within panels. Panels can be split into multiple areas to allow accessing multiple tabs in the same panel at the same time. This maximizes the usable space in the panels.
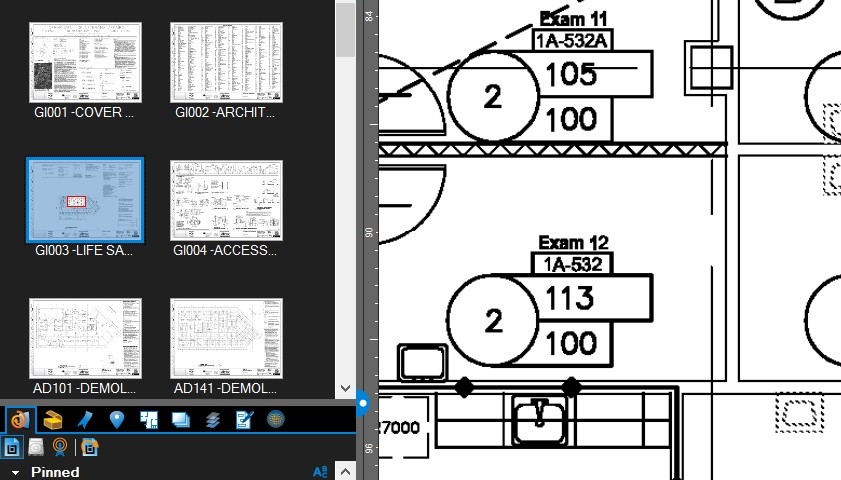
In this example we’ll position the thumbnails tab above all the other tabs in the left panel. This is useful when you work with multipage documents and wish to navigate quickly, while using other tab functions like Links or Layers.
1. In the construction profile, open the left panel.
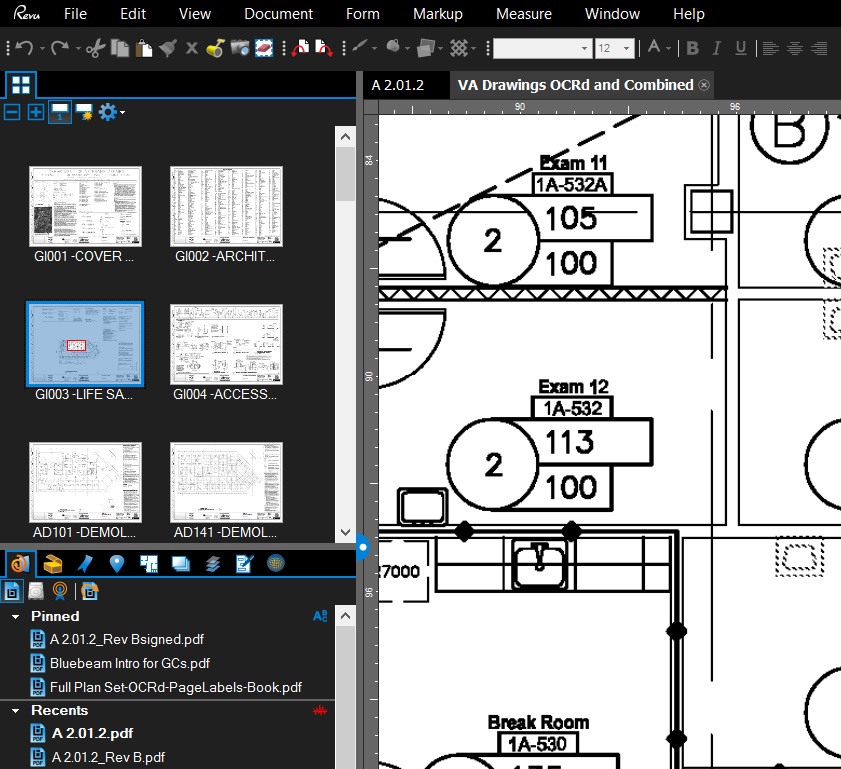
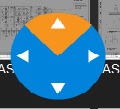
2. Click the icon of the thumbnails tab and drag it down  into the panel until the Position Wheel appears, then drag the thumbnails tab over the up arrow of the Position Wheel, and release.
To undo this top/bottom split, simply drag the thumbnails tab back between the File access and tool chest icons.
You can drag additional tabs into the same panel and split them in any direction. The configuration of the workspace is saved so that the next time a session of Revu is started, the layout will not have to be re-configured.
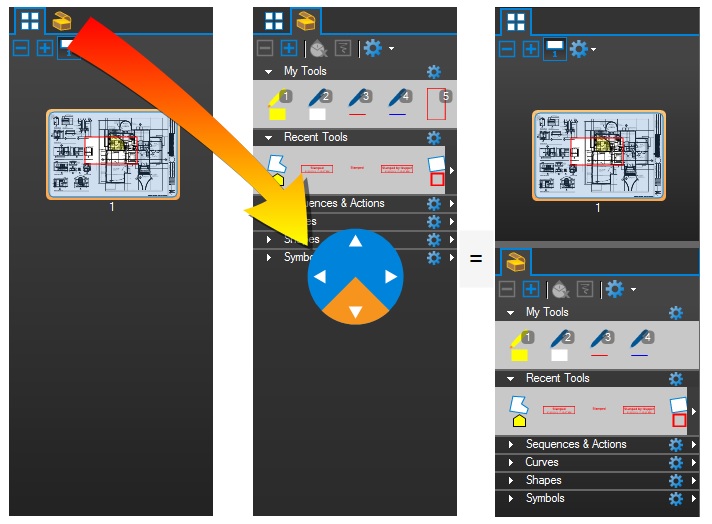
In the example below, the Tool Chest is dragged below the thumbnail view so that both tabs may be displayed at once. Use the Position Wheel to define other placements, such as side-by-side or above, in addition to the below setting shown.
Note that if you position a tab to the bottom panel it can overlay the left and right panels. Click the small left or right arrows on the panel border to toggle this setting. Expanding in this manner enables more columns to be displayed in the Markups list.
You can also drag icons from the left to the right panel or rearrange the order they appear within a panel.


